2 Weeks (v1)
1 Week (v2)
5 Days (final)
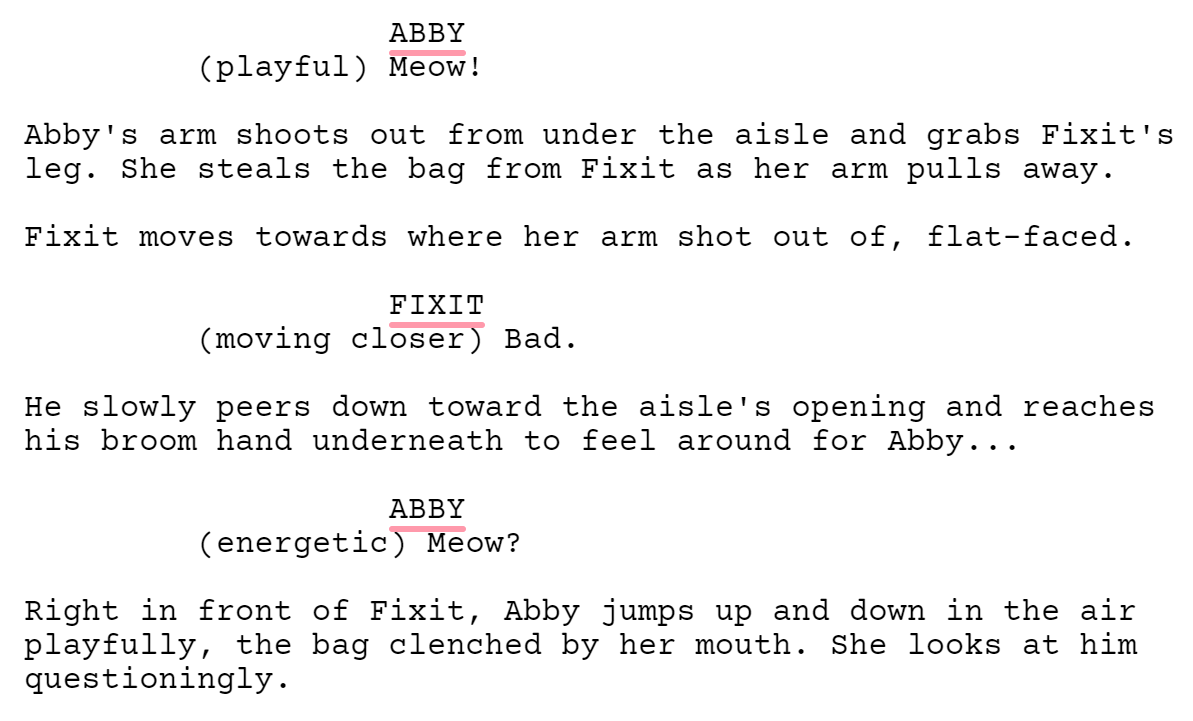
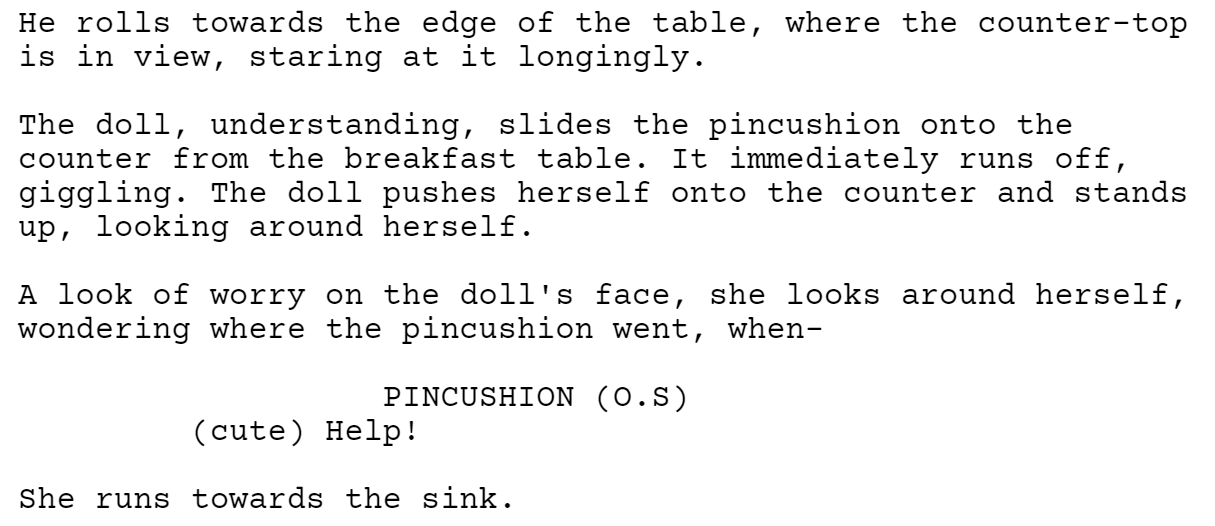
Celtx Screenwriter
I started this project by working on a script and formulated idea for what I wanted to build.
This film has gone through 3 different iterations of formulation. My original idea revolved around a doll and a little girl. After that came a robot and a cat. I was chasing this idea of a "cat and mouse" situation but nothing seemed to click. Nothing carried the level of gravitas and stakes that I wanted until the concept of a fly fighting against a well-pronounced superhero came to mind one day. I immediately got to writing again and refining.
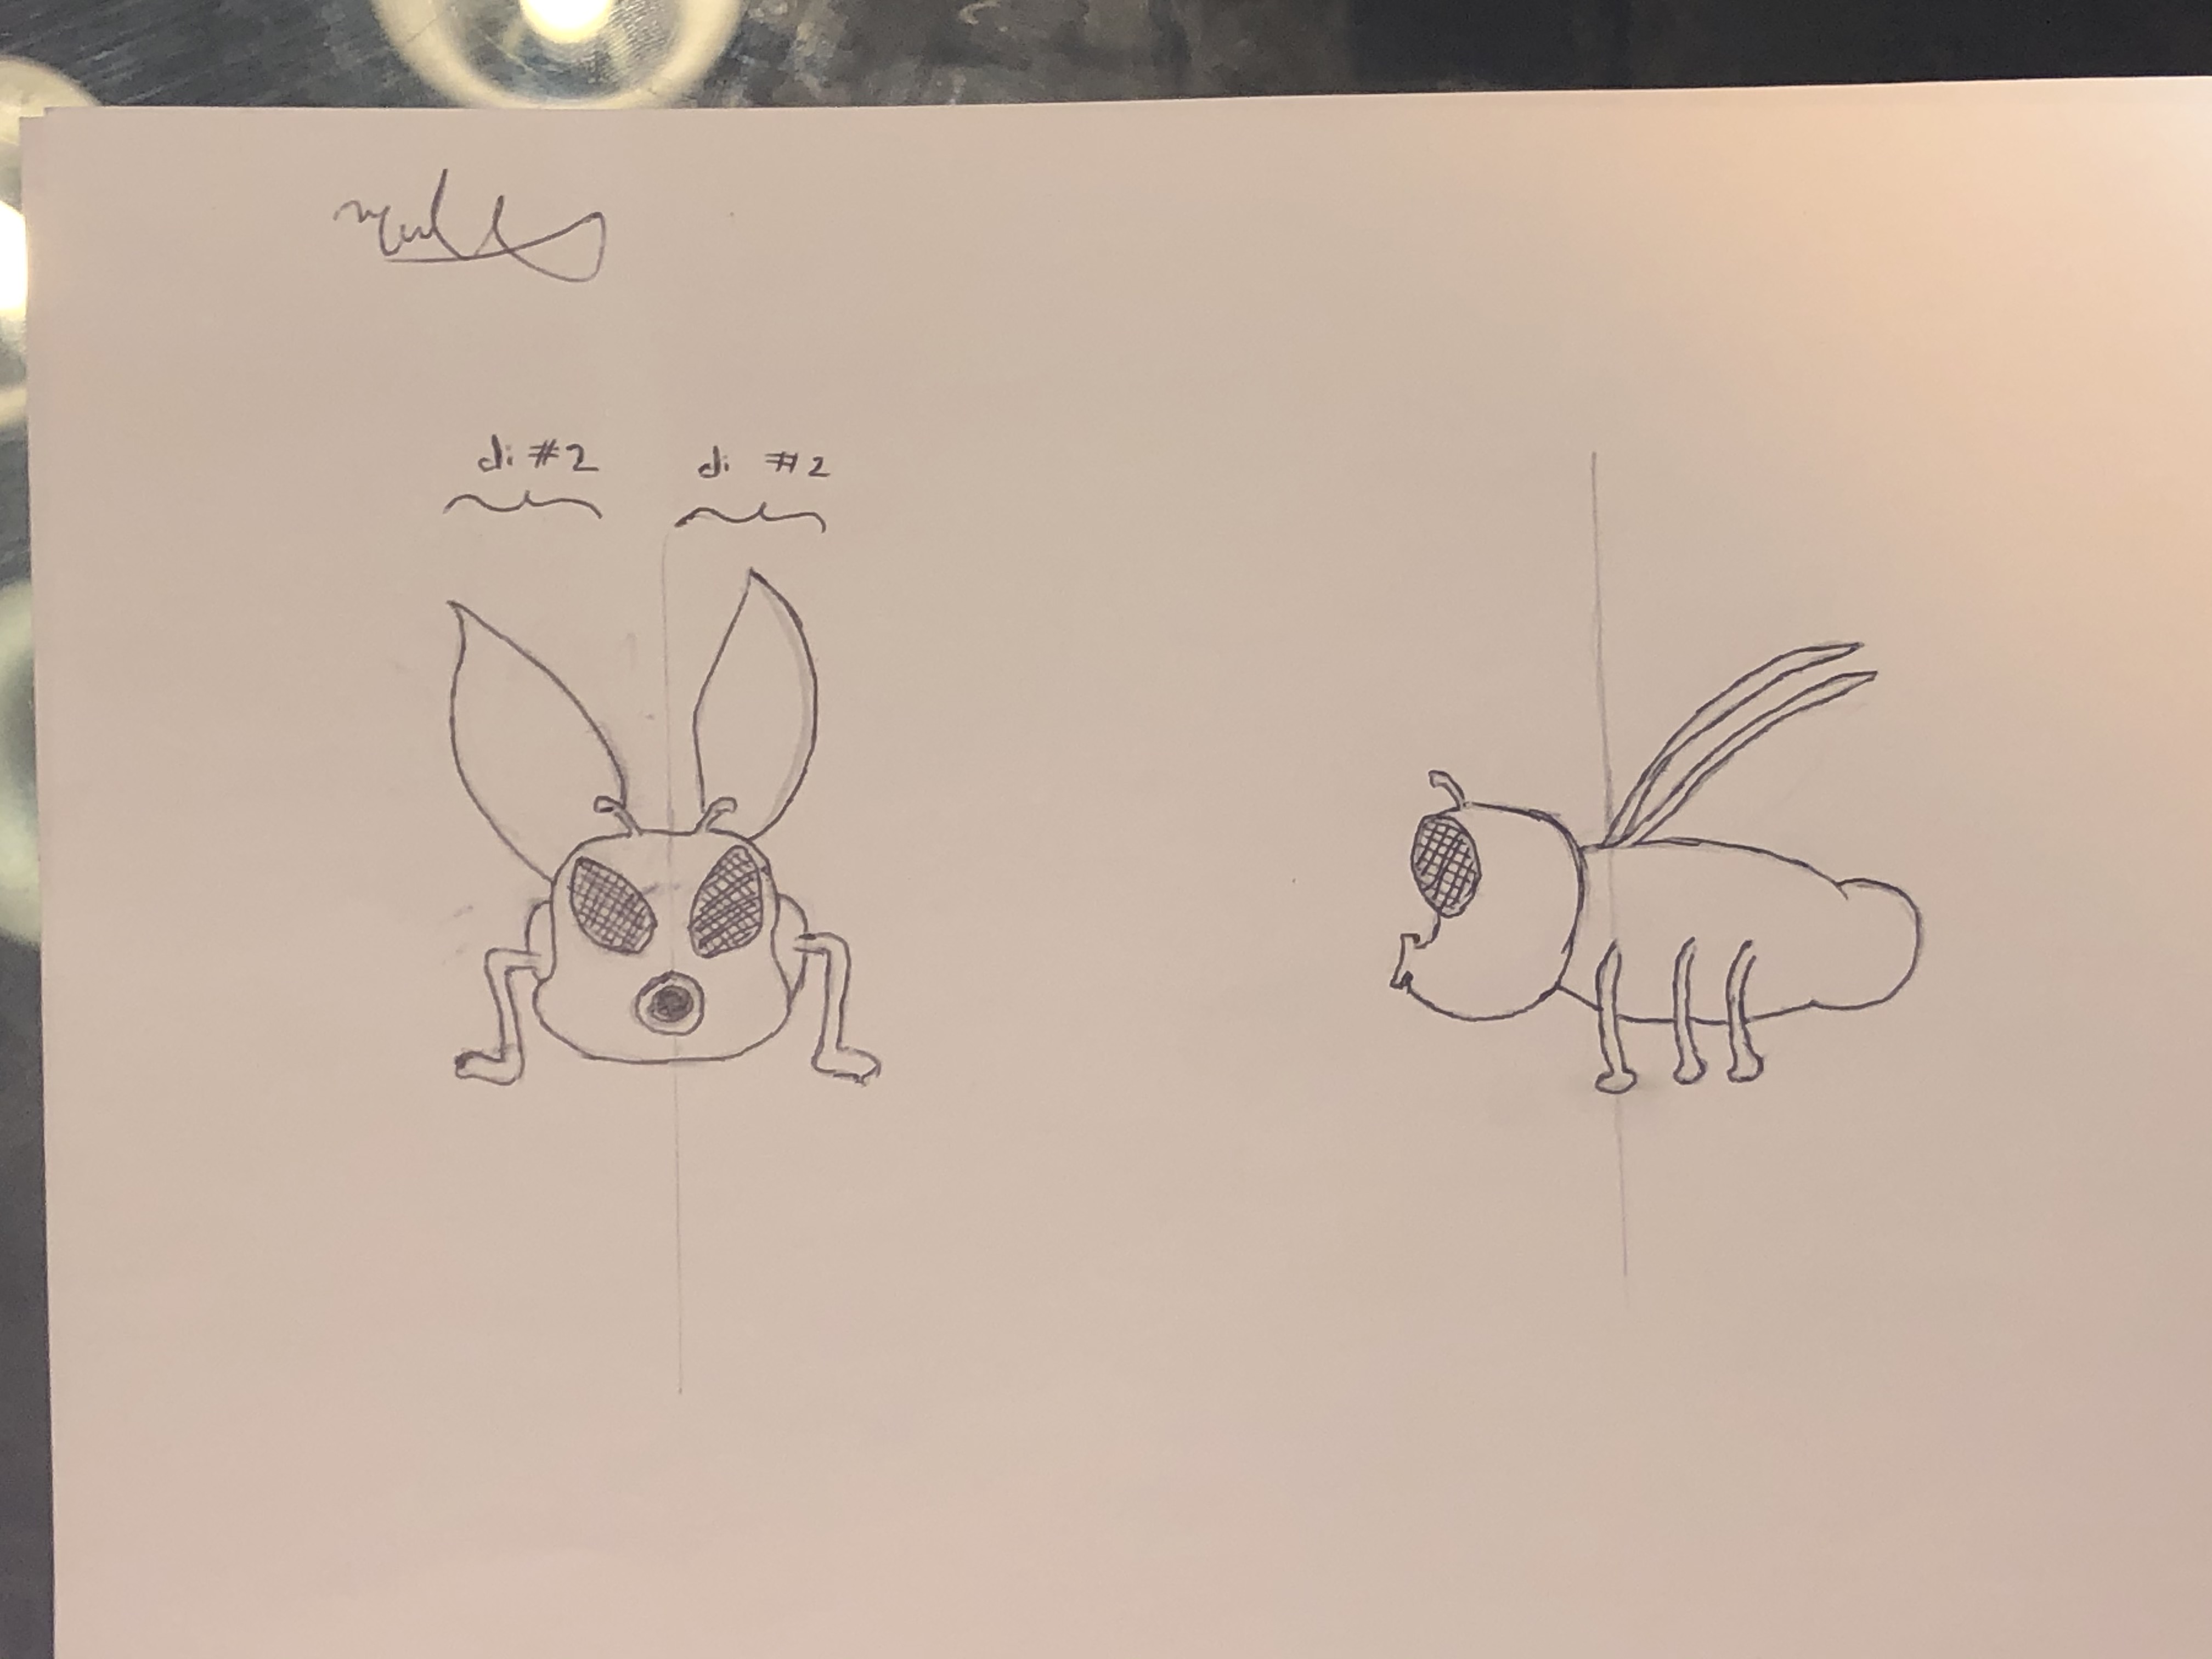
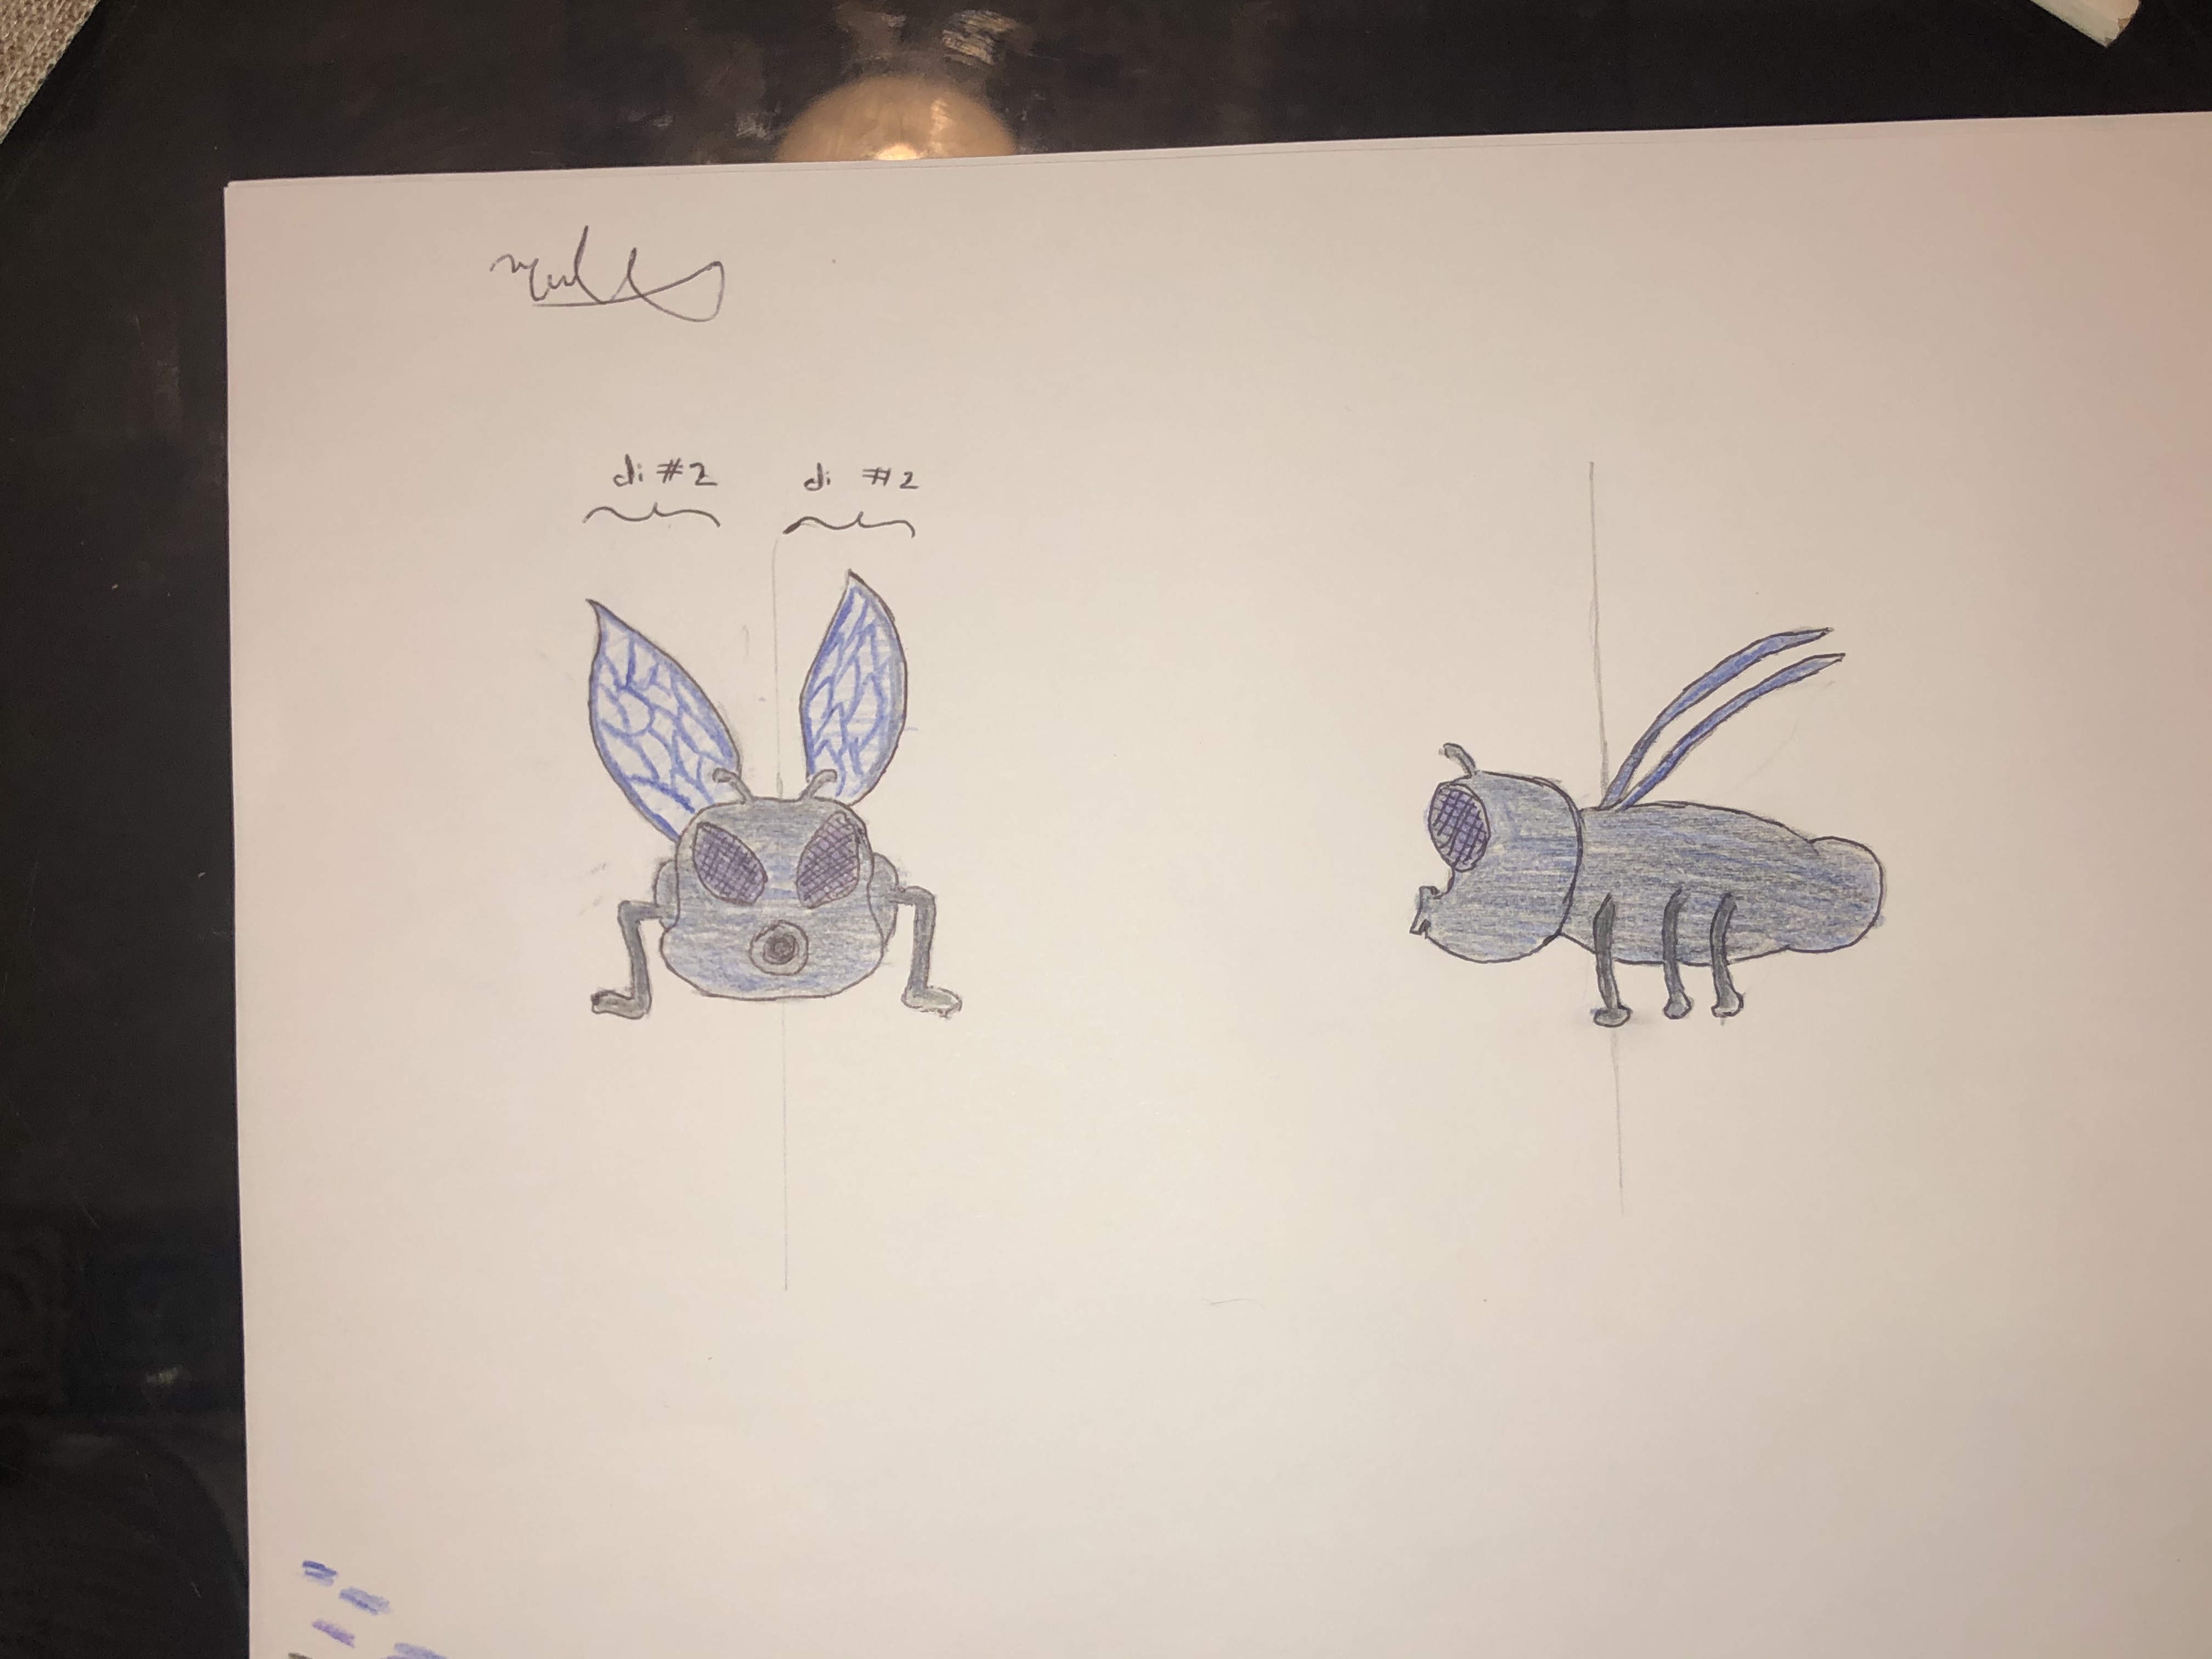

After working on the story, I got right to work on designing potential character sketches.
I went through several different designs for both my hero as well as my fly. I wanted them to look and feel realistic, keeping 3D animation in mind, but also have a slapstick feel to them and a sense of self-irony.
To the left are some of the final sketches I landed on for my design of the Fly. I created a general 3D drawing, side profiles, front profiles and other angles for modelling. I also created coloured sketches, for later 3D texturing, which also went through a few different designs.
After all the written work, sketches, storyboards and ideation was complete, I photocopied my 2D models over to the computer and got to work on modelling my characters in 3D with Autodesk Maya.
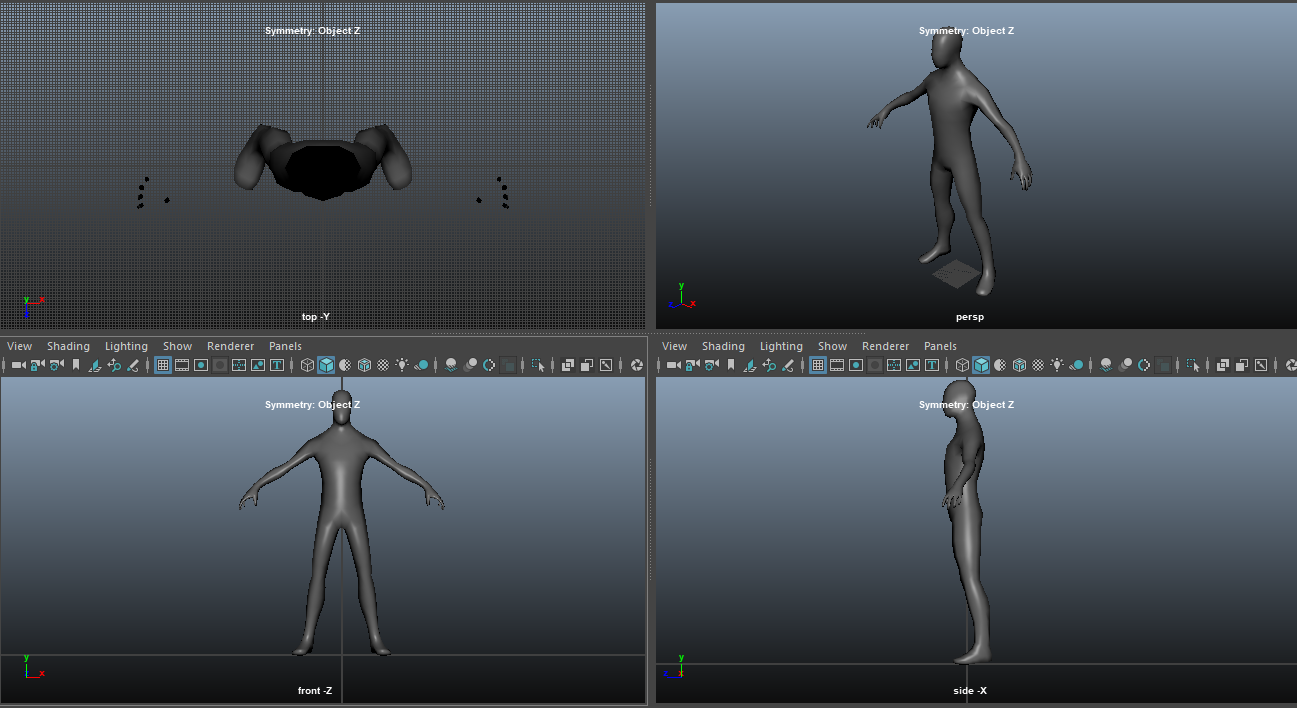
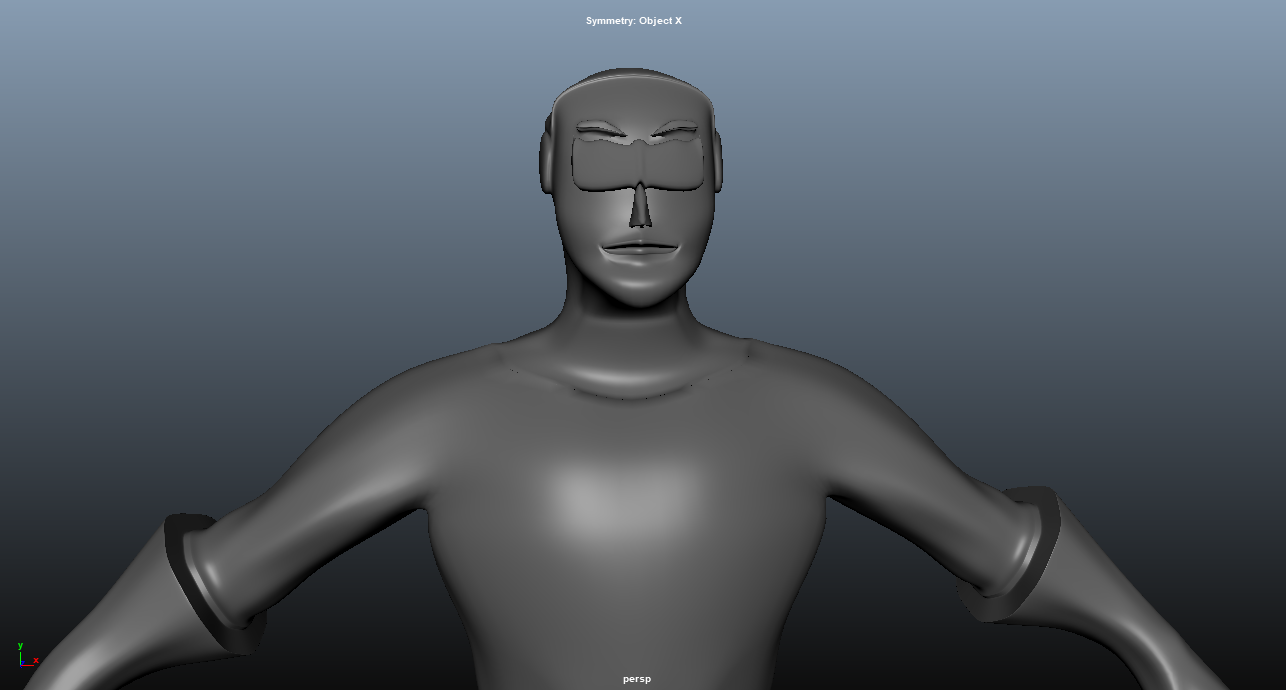
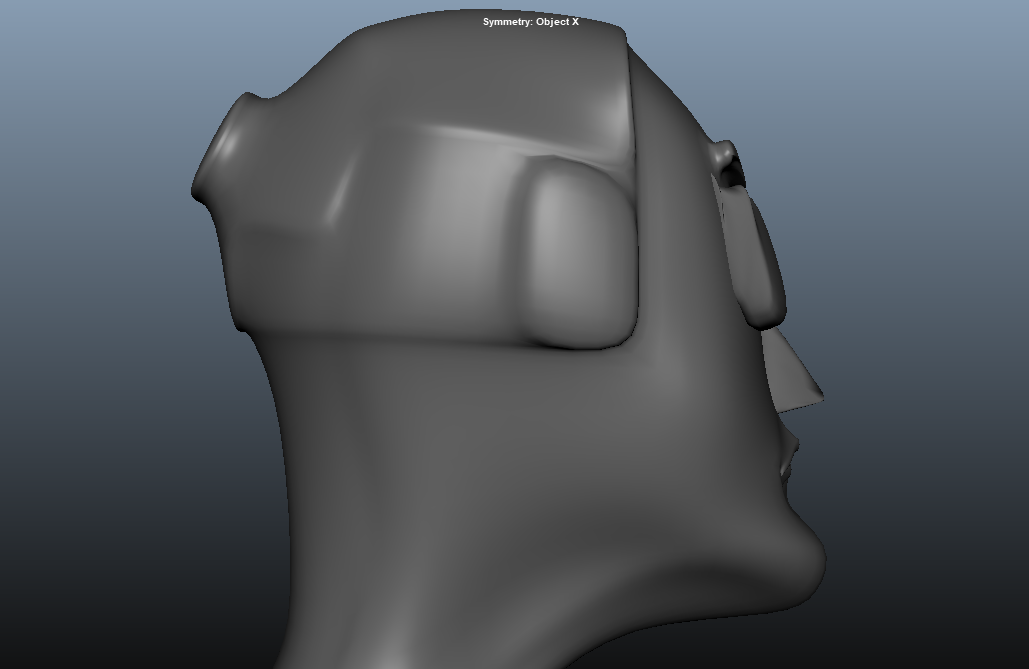
For my hero, I started for a base human mesh (top photo) and spent numerous hours fine-tuning him and shaping/sculpting him using the numerous Maya tools to get him to a form I felt comfortable with in the end. I also, of course, referenced the 2D drawing I had made from multiple angles using the windowing technique (cross-sectioning two angled photos in the center of the mesh and x-y plane).
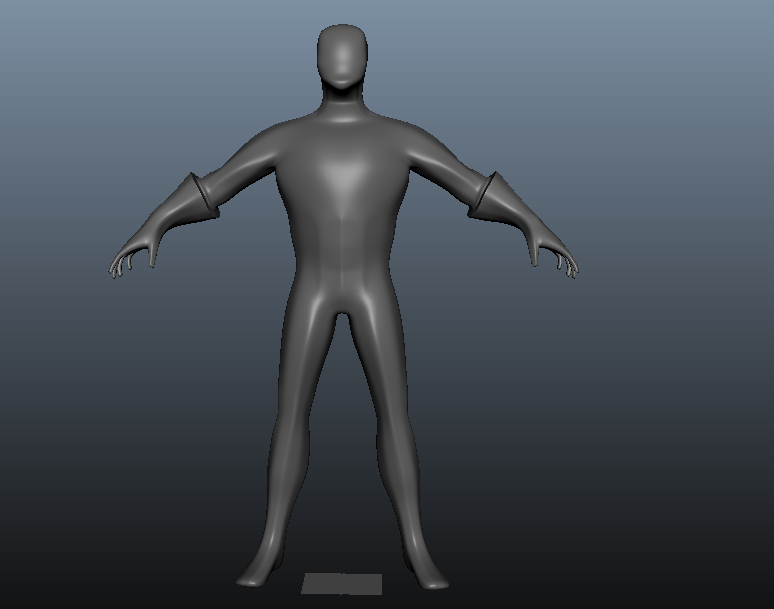
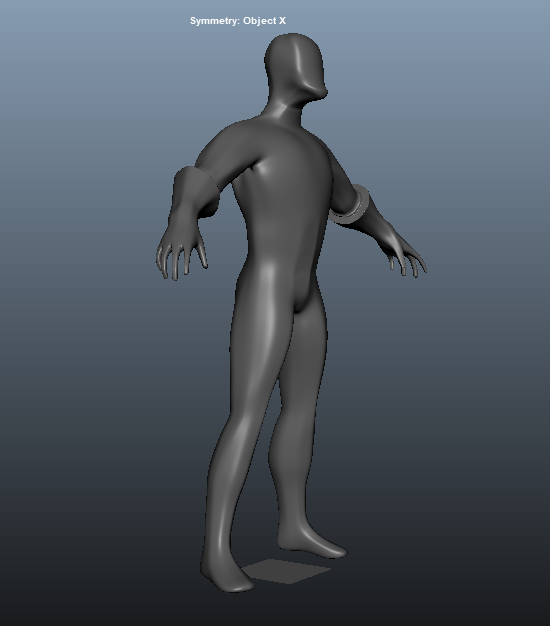
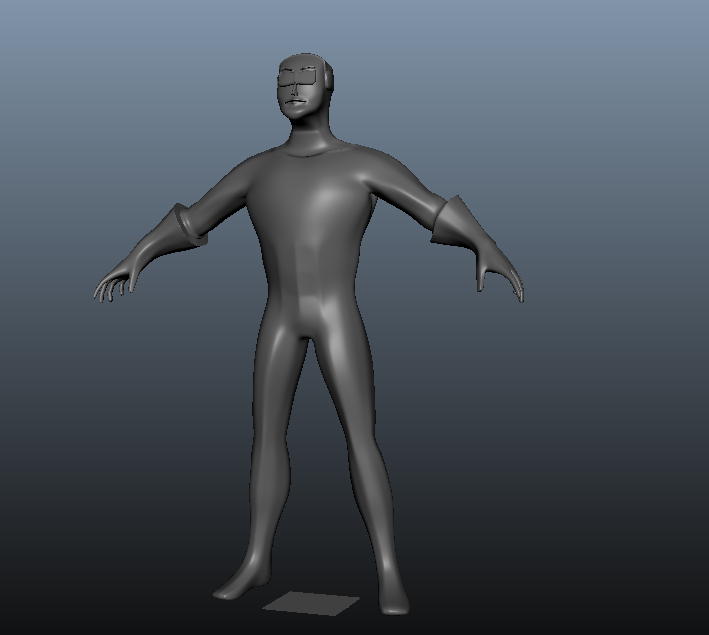
The final sculpt for the hero can be seen in the 3rd, 4th, and 5th photos.
I then followed a similar process for my Fly character and modelled him off a ball, viewable in the last photo on the right (with the original ball also in view for reference).


Once the models were set up, I set up my UV for all their various parts, so as to confirm nicely to their dimensions when adding textures in the next step.
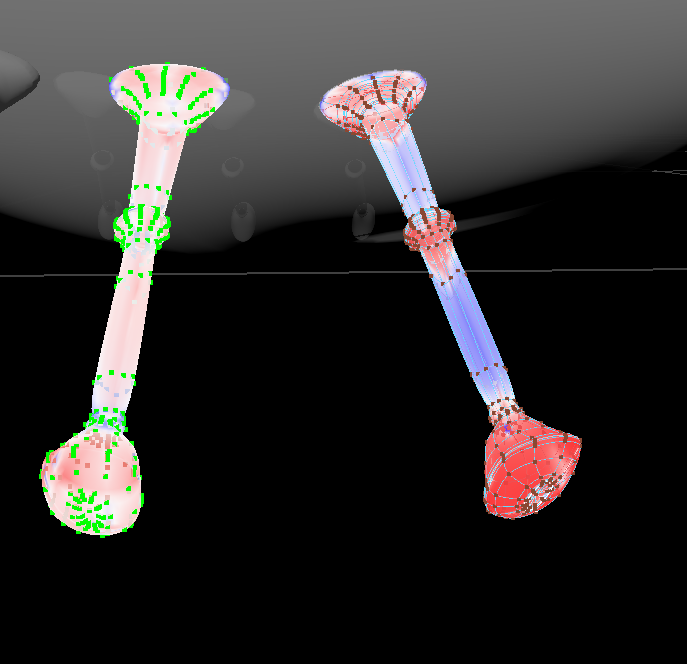
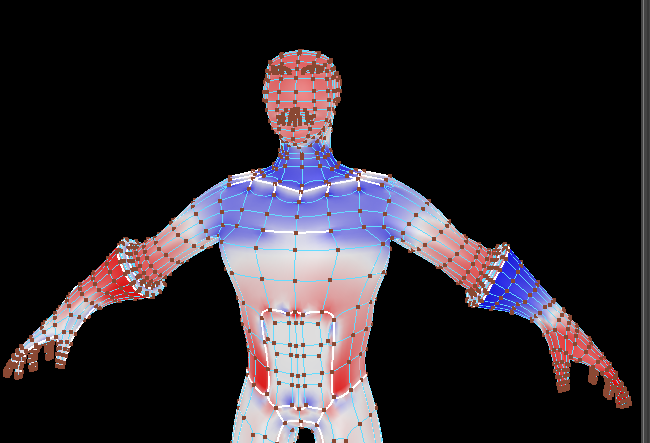
On the images on the left, you can see the UV red-blue display, which indicates image distortion. A large level of red and blue indicates that this region of a model is heavily distorted in terms of texturing. This means that, when a texture is applied or imported, that area will be stretched or squashed a lot which is usually undesired.
In the second image on the left, you can see a leg after it had been repaired by myself, as well as the one on the right hand side which still had a lot of UV distortion. I, of course, tested these later with texturing, but the leg on the left indicates adequate and correct UV distribution and editing.
In the third image on the left, we can see the Hero without any UV editing. The hero was, obviously, far more difficult to work with because of his more unique dimensions and human nature. However, the last photo shows a fine UV editing job with minimilistic stretches that matched my textures later on. You can also see the UV division of the Hero's body in the right side of said image.
After my models were set up, I got to work on applying my proposed textures onto them, which was arguably my favourite part of the process, before beginning animation and the next steps.
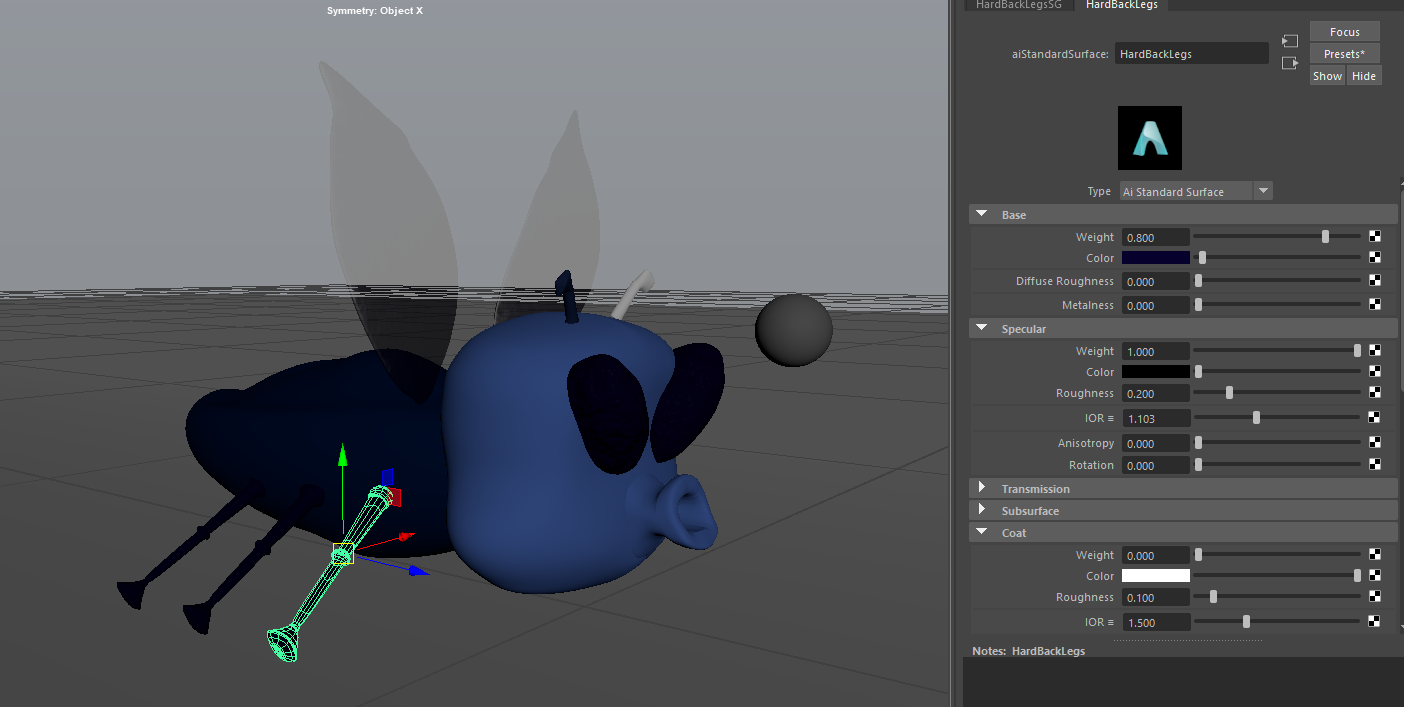
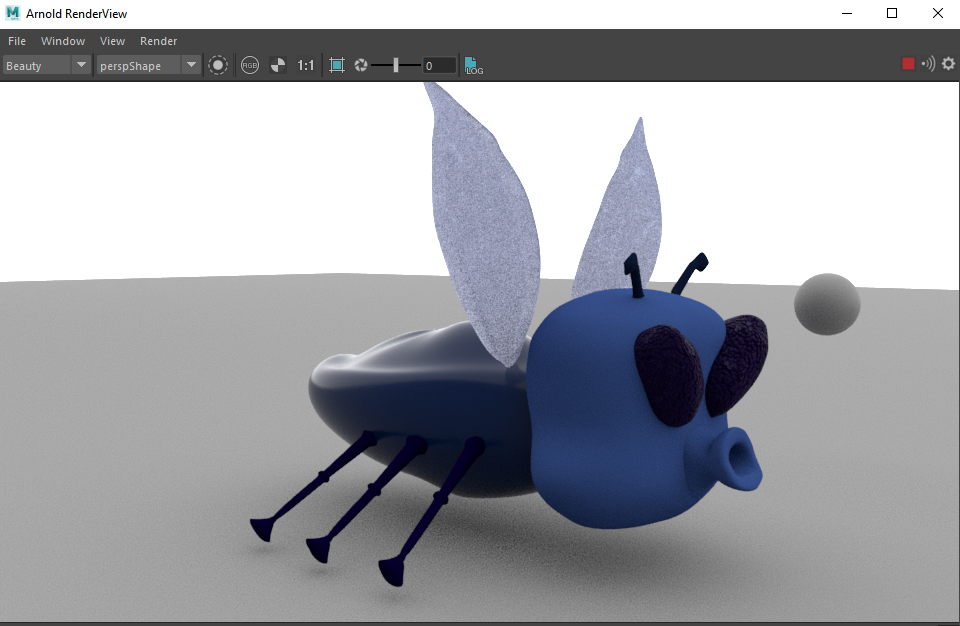
For my Fly, on the right, I tried to stay very faithful to my original 2D sketch and character spread while taking some creative liberty for the sake of 3D animation. I kept his cartoony blue accents and structure. I also kept his glassy wings (which are not completely viewable on the right, since this is a low-poly render with Arnold instead of the larger 1080p render, of course). I chose a glossy texture for his back, however, despite the fact I had never specified such earlier, because I loved the glean and look of it on camera. I played with a more furry or spiky back and it felt very un-"cartoony". I also added some spike texture to his eyes that helped with the buzzy, multi-directional view of a fly, although it is not completely noticable due to the low-poly render in this image.
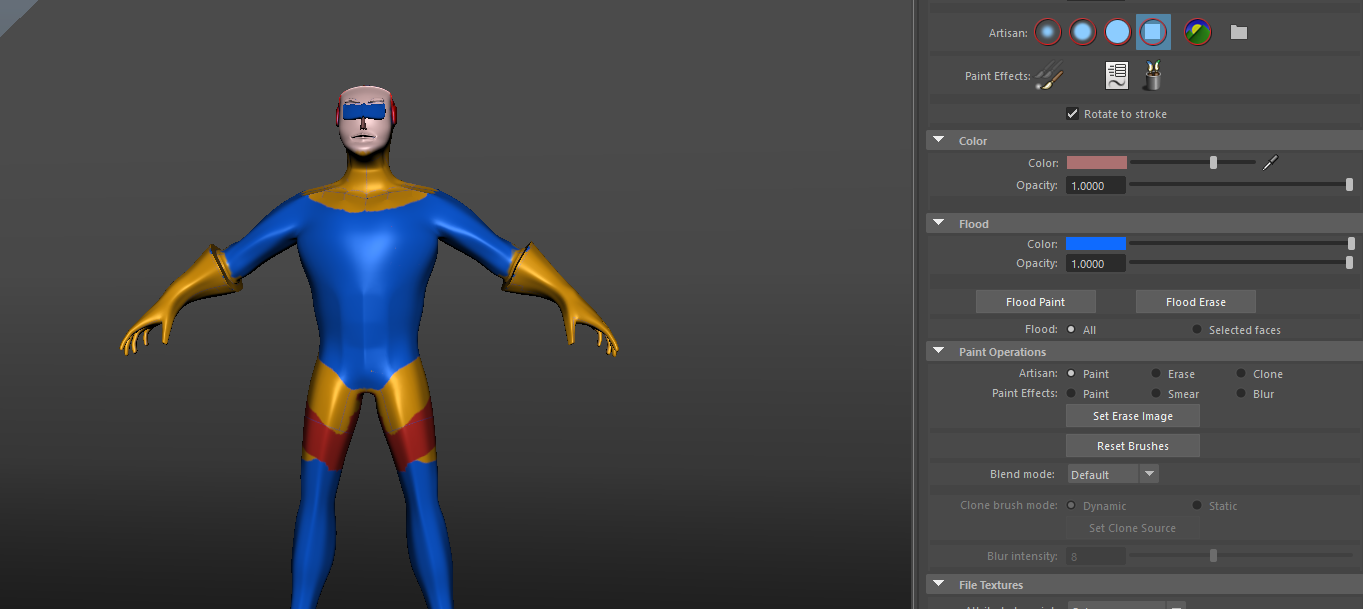
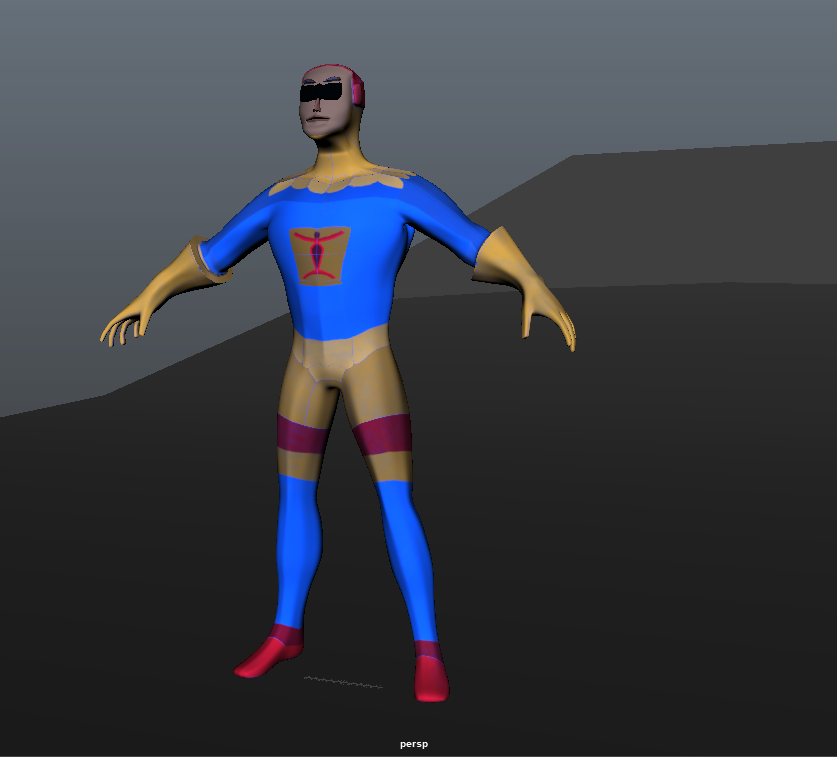
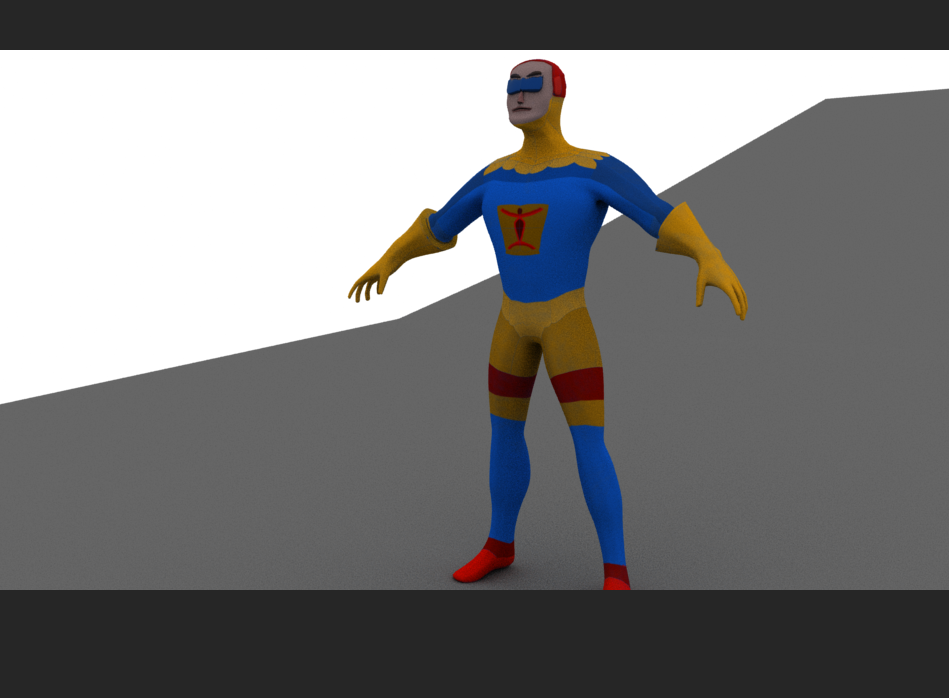
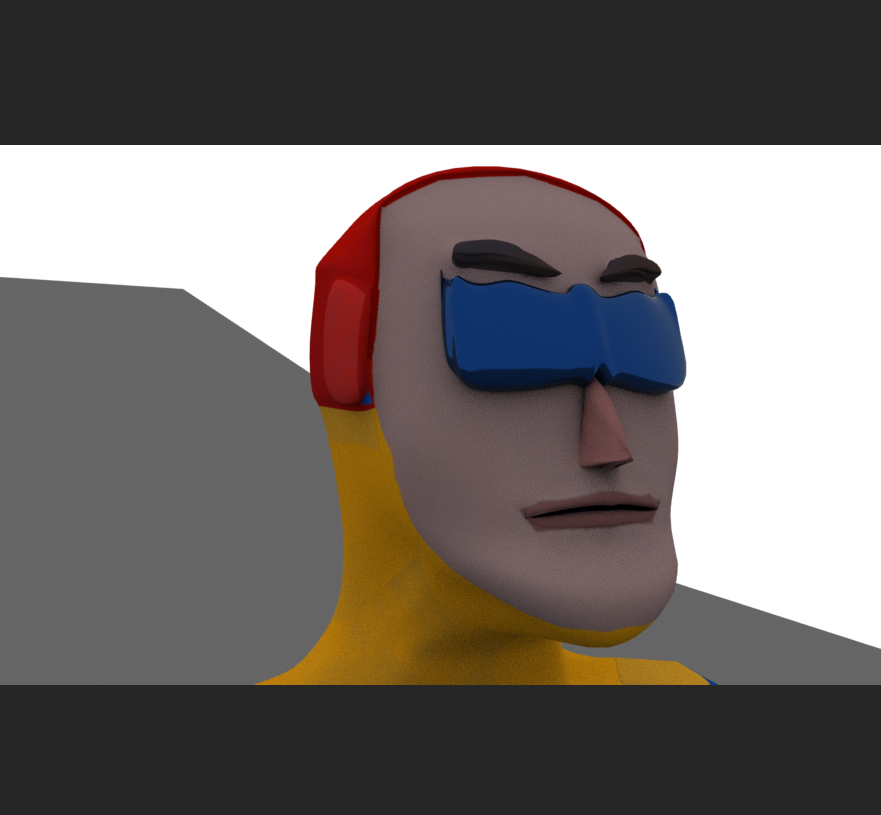
For my hero, I wanted to give him a patriotic look and feel, to use as a trope to establish him as a seasoned/loved hero just from appearance, recognizing that I didn't have the time to do so in an animated short. I based my inspiration on Captain Falcon, Captain America and Wolverine for his overall structure. I added the glossy glasses afterwards since, when I had originally used eyes he didn't seem like a very calm and collected character and more frenetic than I liked. The logo I had spent a lot of time drawing over and over until I reached the design I liked, and loved transferring it over to 3D. The final texture for the hero is the first two images on the right and the final render of those textures is the last two images on the right.
After texturing my models and characters, I needed to rig them for animation later.
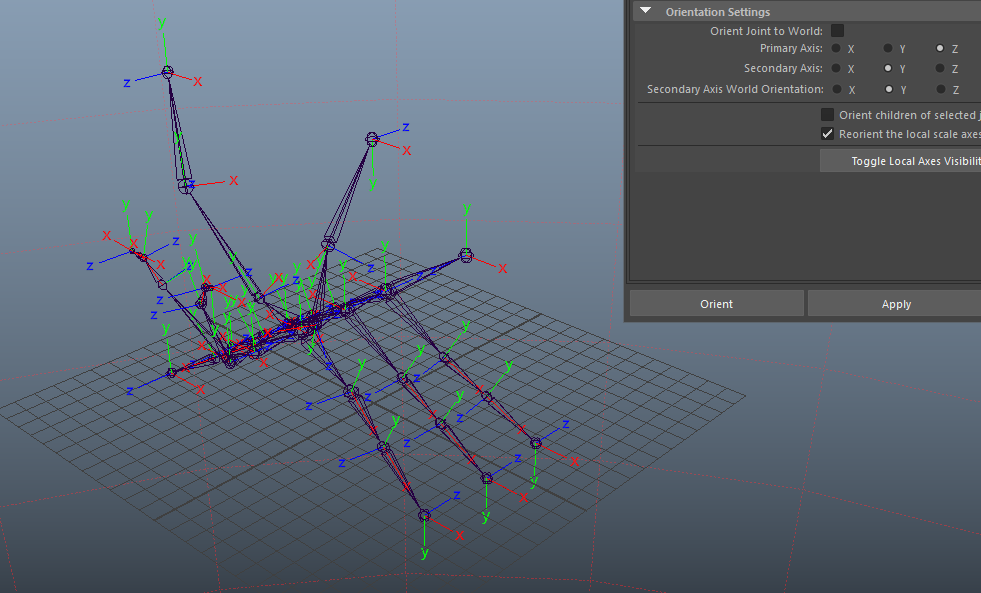
Rigging was perhaps one of the most difficult stages of the process and pipeline. I had to set up their skeletons with joints, tie the joints together, tie them to the skin/model and then add controllers, curves and other attributes to the rig to help better direct it. I also had to check the positional scale of each joint to make sure it matched the others and was not moving some other axis at a different time than the others (see picture 1 on the left).
After doing this, I also had to "paint motion weights". Similar to the views shown in the UV section, I had to paint each joint against the skin region it would be manipulating to determine how much the character should move based on motion of a particular joint and what parts.
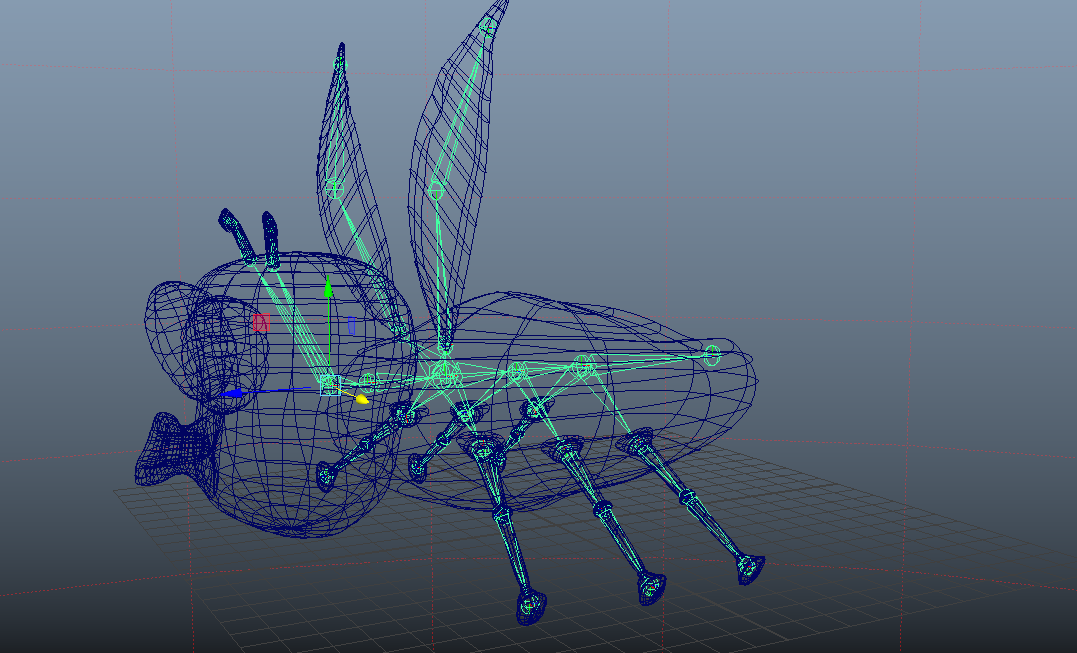
I had started with a raw rig for the Fly as seen on the left. I added joints in the legs, wings, antenna, body and head to provide myself with the amount of motion I was looking for. I knew this character would be doing things like wiggling, shaking, shaking his head, wriggnling his antennas or cocking them, and, of course, flying across screen (with his legs moving as well)! After setting up the rig, I tested out his motion and tweaked it numerous times until I was satisfied with his range of motion. His final rig is viewable in the third image on the left, without painted weights.
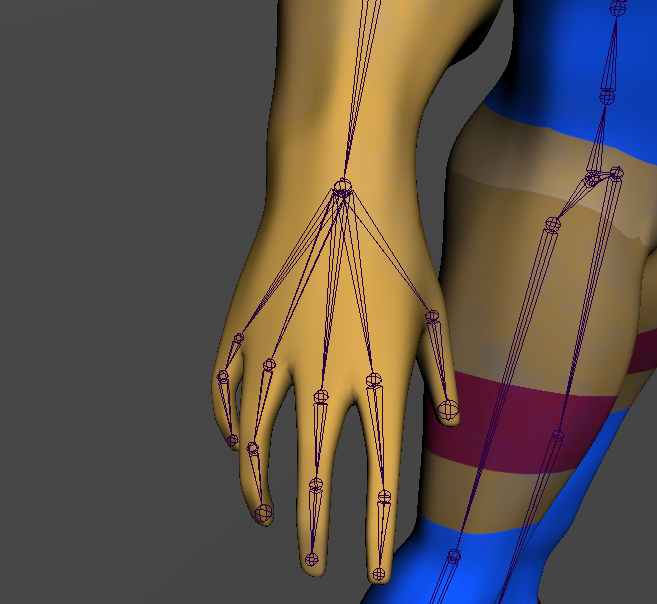
Similar to the Fly, I set up a human rig for the Hero, destroyed the links and moved them until I was satisfied with the link positioning and then reconnected them as I saw fit. After this, I added motion curves and other structures to better help animate him onscreen when I need to perform certain actions.
I finally set up his rig, after tweaking and painting weights to it numerous times, until I was satisfied. His final rig can be seen in action in the last image, the gif, on the left. In this gif, he waves hello, and getting to play with your characters like "dolls" is definitely one of the most fun parts of this process after finishing your rigging!
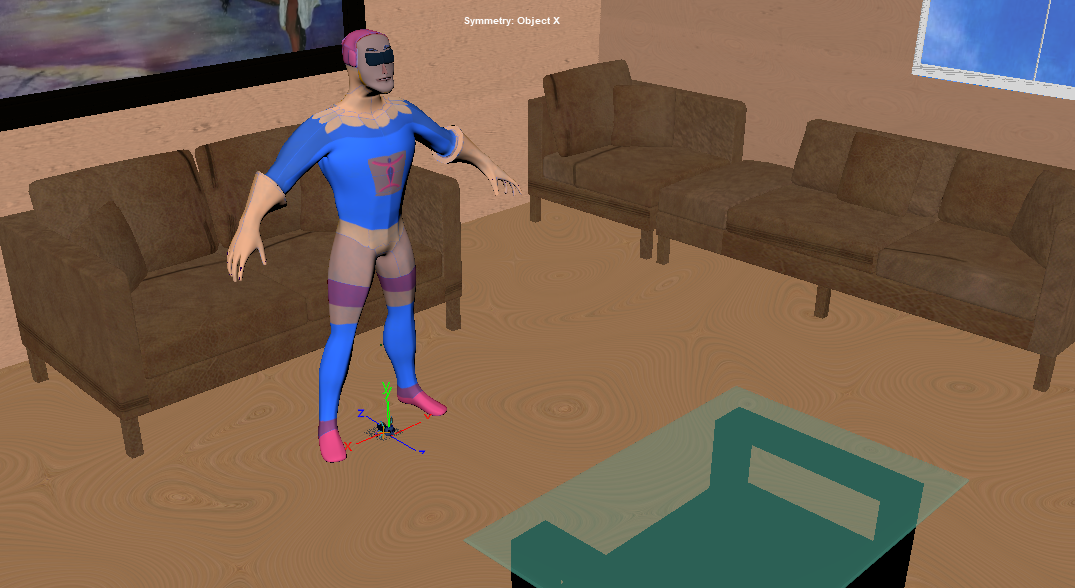
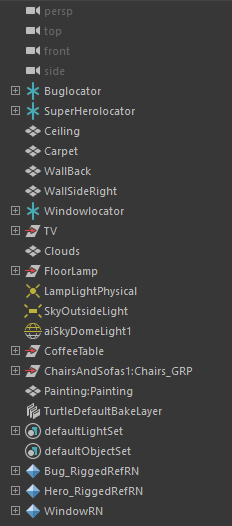
After rigging and doing some final utility testing with my characters, it was time to pull them into scene and create the set.
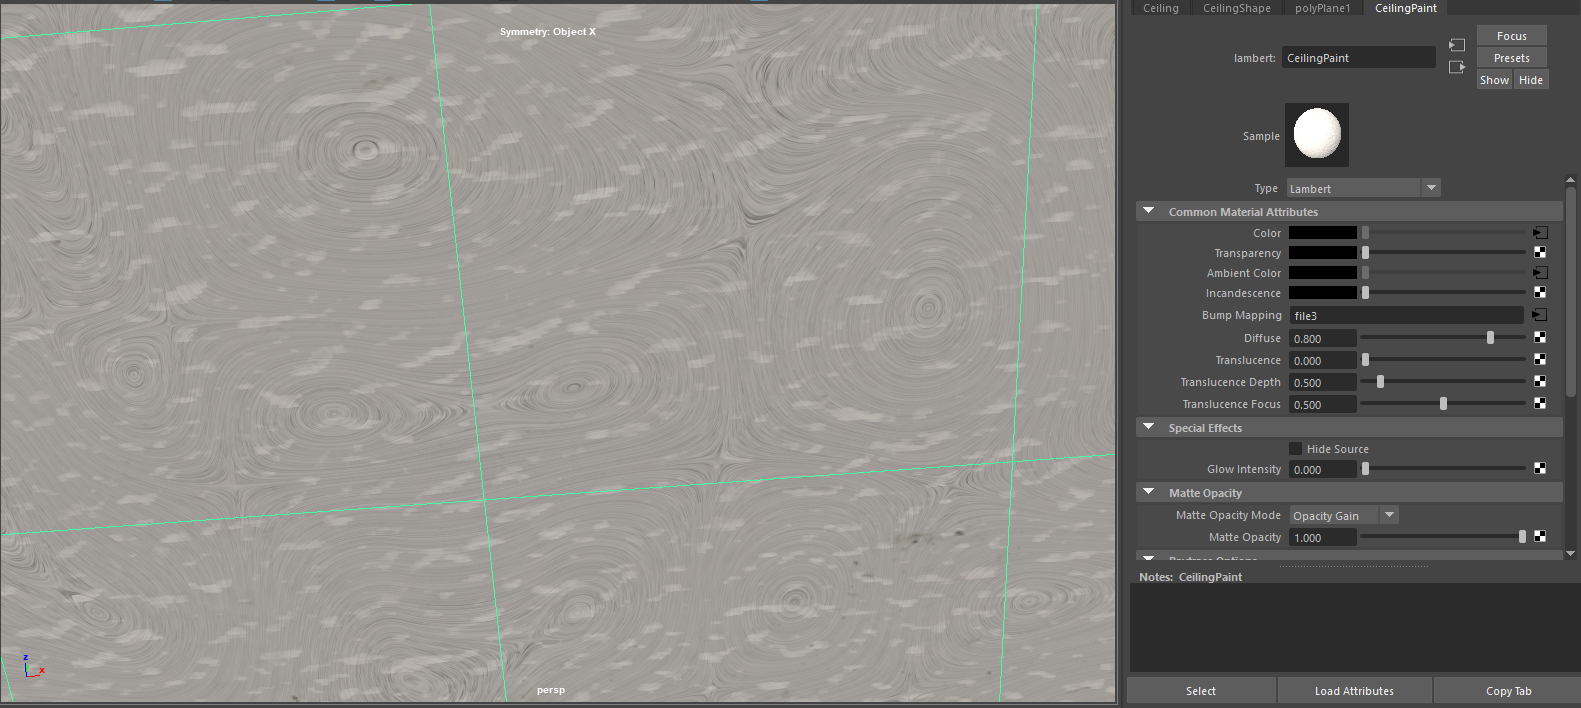
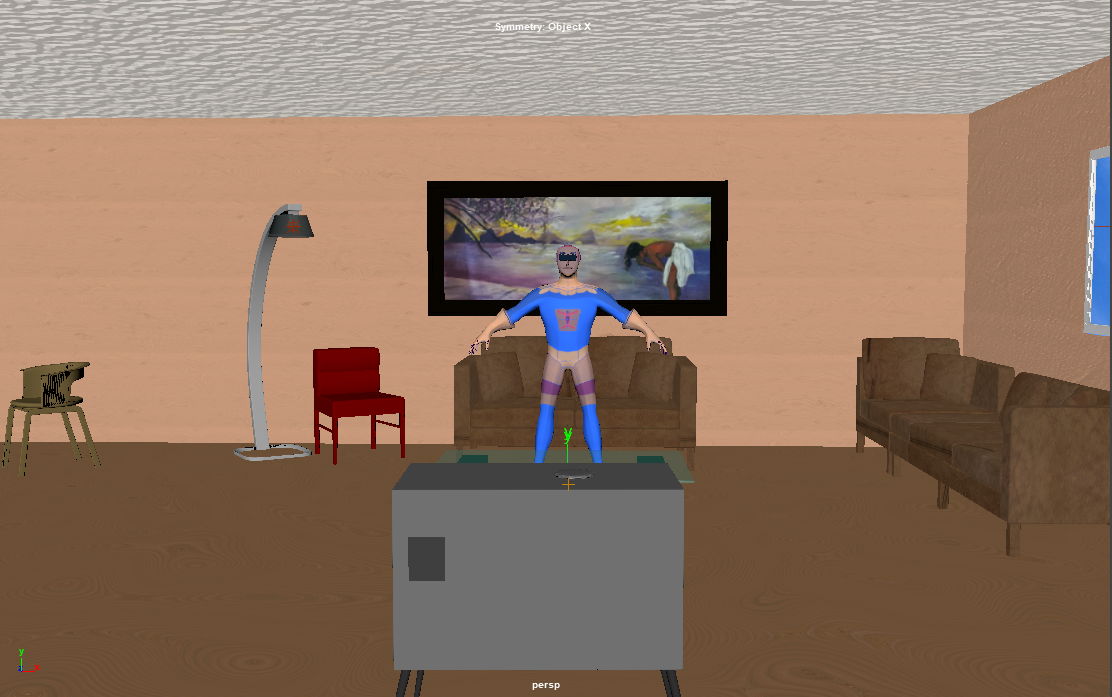
I used a combination of different techniques to get the shot set up. I first had to set up the background with walls, ceiling and more. I used plain color palettes and then applied textures and edited them until I got the effect that I wanted. In the second picture on the right, this can kind of be seen as I imitate ceiling corking ("ceiling popcorn") by adding noise and other factors such as random emination to the white palette I used. I used the same technique for the walls and flooring.
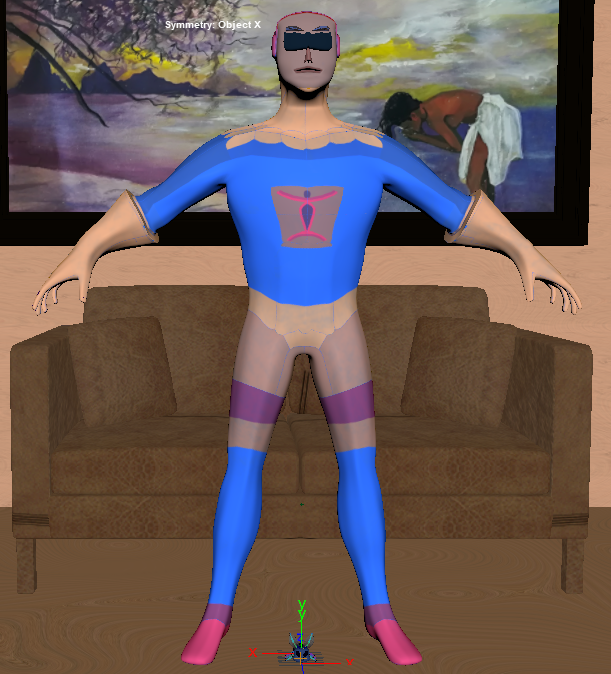
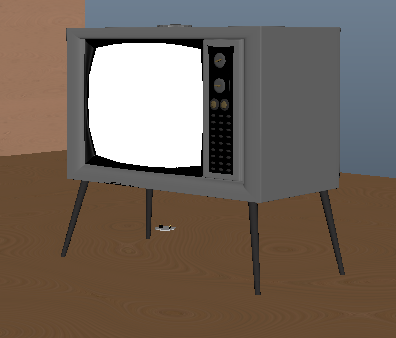
Some of the furniture, like the tv and sky, I was able to create myself by using in-built textures or by using open-sourced imagery and modifying it as I needed. This can be seen in the first photo. Even the picture frame in the fourth photo behind my Hero, I set up the frame and added the open-sourced painting into it.
For other more complicated furniture like the chairs, I used open-sourced furniture from crowd-sourcing tools online and then applied my own textures to them as I did with the flooring, walls and ceiling. This is how I achieved a "furry" look for the sofa behind the Hero.
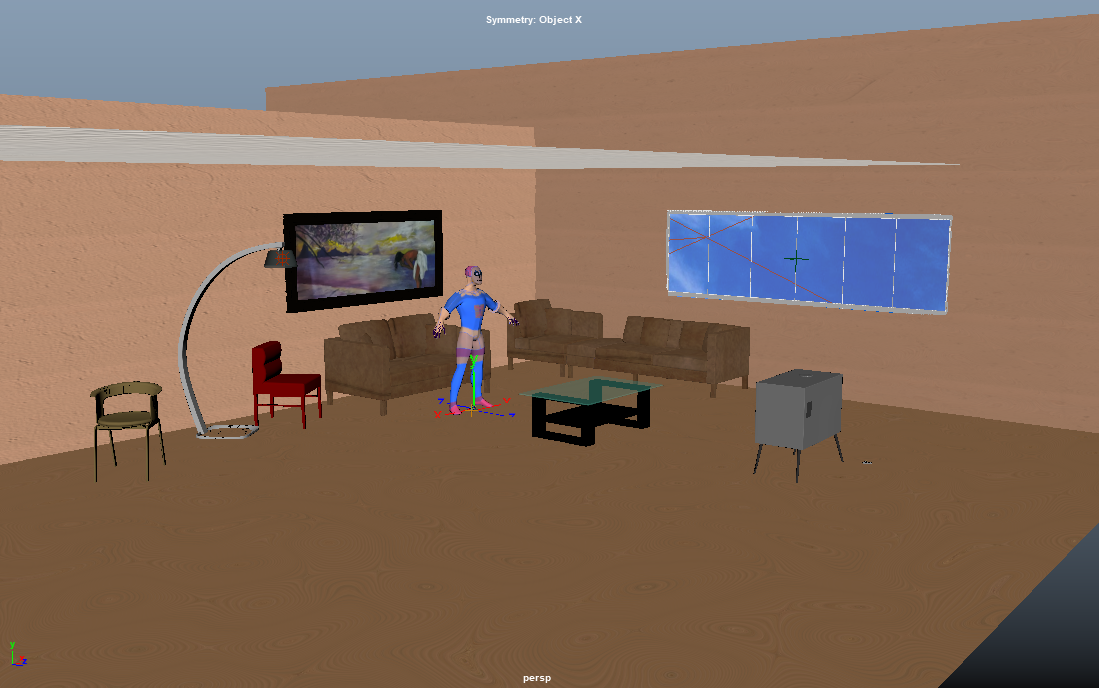
I also had to scale all the items accurately in the scene, which was a more time-demanding task than I had anticipated. In the 3rd picture, we can see both my Fly and Hero to scale as they will appear in the film.
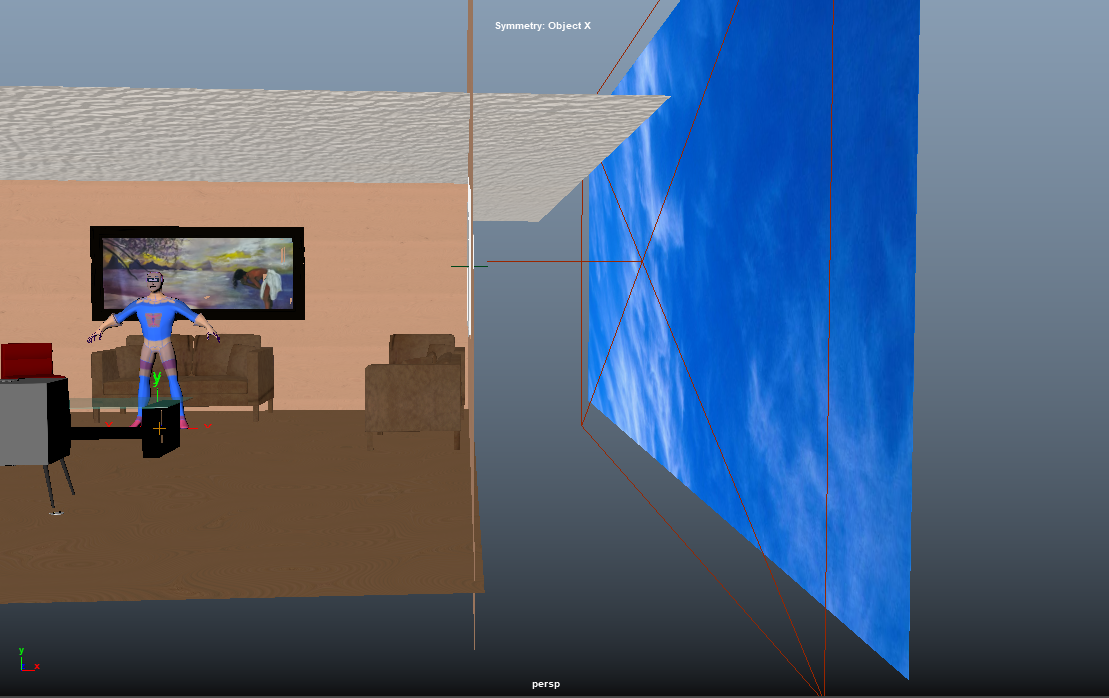
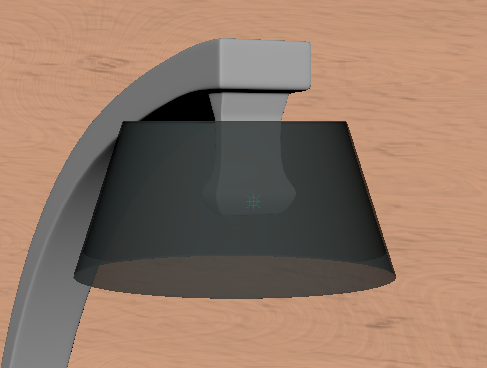
After setting up the scene and before proceeding with final staging in the next step, I needed to set up the right environment lighting that I was going for.
Of course, I went through a lot of trial and error and fine-tuned the lighting the way I liked it in the next step below. However, I spent a lot of time to figure out how I want to light this scene and where these sources are eminating light from.
In this scene, there are 3 light sources, as seen on the left. In the first image, we have the sky which is the strongest light source, radiating energy that is bright and a slight blue, but not too harsh with my chosen images day-timing. There is also the lamp which is a more harsh incandescent yellow light, but has a short focal range. Finally, the TV eminates a very faint blue and white light, but this faces my characters directly and adds a lot of mood to the story.
When we talk about staging, I mention it here as myself rendering and re-rendering the scene, editing and tweaking things until I find the mood, setting and vibe that I desire in the shot. I also mean that I stage my setting and characters onscreen to their initial shot for this scene (and since this is an animated short, their first pose for the entire film).
On the right, is the (low-poly) render of the final first pose/shot of my animated short, set up as I am satisfied with in terms of the story and sequence.


In Progress
I'm currently in the process of animation at the moment and will update this view (and further views) once more info is available.
On the left so far one can see different emotions on the face of my Hero. I keyed these facial expressions and created a timelapse to show emotions during animation. More importantly though, I was able to turn this motion into a Maya attribute in the model, so I can easily switch mood positions while animating. I followed this process with numerous other elements, moods and actions. I plan to continue animating and keying frames and sequences and tuning them with Maya's graph editor.
2 Weeks (v1)
1 Week (v2)
5 Days (final)
Celtx Screenwriter
2 Days
1 Week
Storyboarder
1 Week
Autodesk Maya
2 Days
Autodesk Maya
3 Days
Autodesk Maya & Adobe Photoshop
5 Days
Autodesk Maya
3 Days
Autodesk Maya
1 Day*
Autodesk Maya
1 Day*
Autodesk Maya
IPR
Autodesk Maya
IPR
Houdini
TBD
Renderman
TBD
Adobe Audition
TBD
Adobe Premiere Pro